
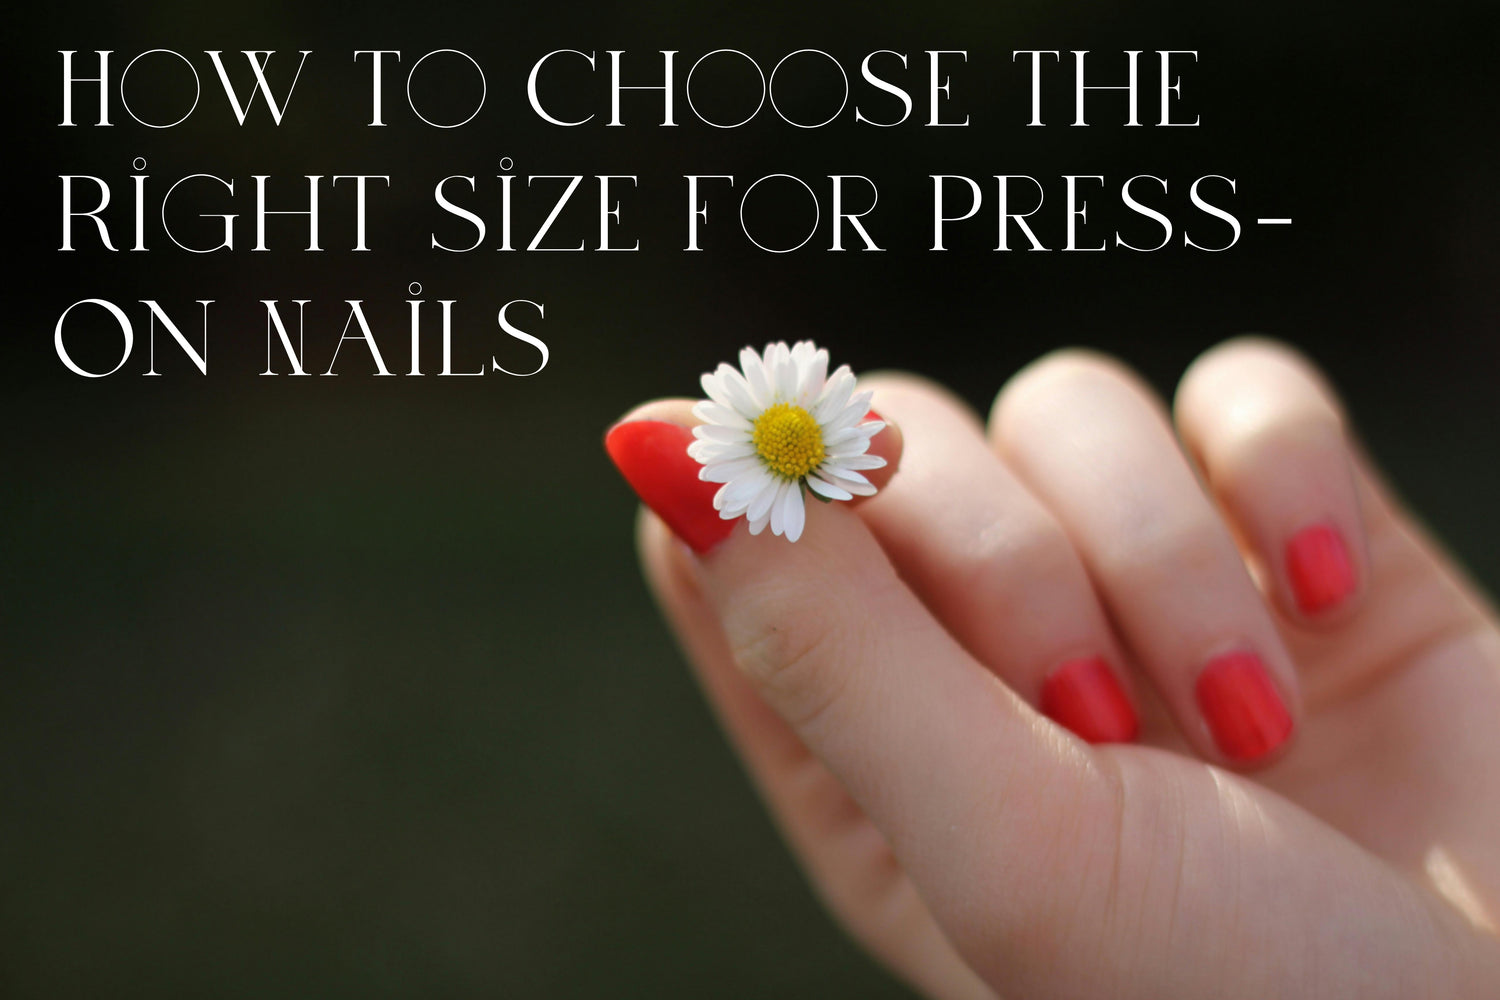
Press-on nails have garnered popularity as a means of achieving salon-quality manicures at home. They come with convenience, affordability, and a wide range of designs.
In this exhaustive guide we will take you through steps and considerations in sizing press-on nails correctly; from measuring techniques down to tips during application.
Understanding Press-On Nails
Press-on nails are artificial nails made from materials such as acrylic or gel which are designed to be placed over natural nails using adhesive tabs or nail glue. They can be shaped differently depending on your preference and they also come in various colors and patterns so as to cater for different shapes of the user’s fingernails. Sizing them correctly ensures that they look natural on you while making sure they do not feel tight.
What is the Importance of Getting The Right Size?
There are several reasons why it is vital that you size up your fake nail properly:
Comfortability – A well-fitted false finger cover feels snugly fitting onto one’s own fingernail thus allowing freedom of motion without any pain whatsoever. It should not move easily when touched but at the same time should not squeeze too tightly.
Appearance – When applied correctly, these imitations look just like real ones thus improving general beauty connected with having done manicure .
Longevity – If done right, there should be hardly any room left for lifting off before time or breaking hence extending how long such kind lasts.
How Can I Measure My Natural Press Ons?
Prior to applying press-ons, it is significant that you measure your original set so as to get sizes which will suit them best otherwise may end up looking awkwardly oversized or undersized.
-
Gather tools
• Ruler/Measuring tape – You will need a small ruler or measuring tape with millimeter units for accurate measurements.
• Marker/Pen – This is optional but can be used to mark the sizes directly on one’s nails.
• Camera – Taking pictures of one’s hands alongside dimensions might come in handy when shopping for these products later on.
- Size each finger individually
a) Length
Place the ruler or measuring tape at the cuticle area (base) and stretch it towards the tip. Record this length in millimeters (mm).
b) Width
Measure across each nail at its widest point which is usually near where free edge starts. Note down width measurement too in mm.
c) Shape consideration
When taking measurements, factor shape of natural fingernails i.e. round, square, oval etc., so that press-ons align perfectly with them when worn.
- Write down & compare figures
Jot numbers obtained from previous step somewhere safe such as notebook or smartphone app. It can also be helpful to take an image showing hands with labels of respective sizes marked using permanent marker pen before buying fake nails set in case they have no guide printed on box.
How Do I Choose The Right Size?
Once everything has been measured accurately as described above, compare those against size chart provided by manufacturer of particular brand being purchased if available. Most kits come containing multiple types (usually numbered/labeled) which fit different widths and lengths according to their specifications but if unsure go smaller than bigger because shaping is always easier than expanding.
Tips For Sizing Press Ons Correctly:
Start With Smaller Sizes – If torn between two options then select lower number since it can always be filed into exact shape desired for individual fingers later on whereas larger ones may require considerable amount of material removal during customization process which could weaken them significantly thereby leading breakages sooner than anticipated thus costing more money too because larger packs tend cost higher compared with smaller ones hence wastage occurs when too many remain unused at end.
Consider Nail Shape – These should match or complement natural shape of corresponding part so that there is no detectable line where real meets fake.
Trial Fitting- Place false finger covers on one’s own nails without gluing them down first just to see if they fit well over entire surface without overlapping skin around edges near cuticles which could cause discomfort later on due moisture accumulation underneath leading peeling off prematurely otherwise would have remained intact until desired removal time arrived thereby requiring another set purchase sooner than planned thus increasing expenses unnecessarily while reducing convenience enjoyed initially after application plus this method also allows easy identification those that do not suit individual fingers best.
Adjust Where Necessary – When some turn out too wide, file gently along sides until matching width achieved whereas avoid cutting away too much length initially in order preserve desired figure.
How to put on Press-On Nails
Here’s what you need to do once you’ve found the right sizes:
- Prepping Your Nails
Cleanse: Start with clean, dry, and natural nails – make sure they’re free from any oil or residue.
Buff and Shape: Lightly buff the surface of your nails for an even base. Shape your natural nails if necessary to match the press-on nail shape.
- Applying Them
Types of Adhesive: Choose between adhesive tabs or nail glue; this depends on how long you want them to last and which one you prefer.
Placement: Put a small amount of nail glue or adhesive tab onto the press-on nail. Line it up with the cuticle area of your real nail and apply pressure for a few seconds.
- Finishing Up
Trimming and Filing: After they’re on, trim down the press-ons if needed. File away any jagged edges so they blend better with your natural nails.
Nail Care: Protect these babies by minimizing water exposure and wearing gloves when doing anything that may affect their lifespan.
Taking Off & Storing Press-Ons
When it’s time to say goodbye:
Gentle Removal: Soak in warm soapy water until adhesive tabs are loose; use acetone to dissolve nail glue otherwise.
Cleaning & Storing: Wipe off any leftover stickiness from the artificial nails; keep them in their original package or another designated container that’ll help maintain shape & stickiness for next time(s).
Wrapping It Up
Learning how to properly size press-on nails is crucial if you want salon-quality manicures at home. Follow these steps & tips in order not only for perfect fit every time but also for them looking more natural as well as staying on longer without coming off too easily while still being reusable! Try different shapes, colors, designs – let your style shine through effortlessly with reusable press-on nails.
Don’t miss out on our wide selection of press-on nails – take your manicure game to the next level today!
Leave a comment
This site is protected by hCaptcha and the hCaptcha Privacy Policy and Terms of Service apply.