
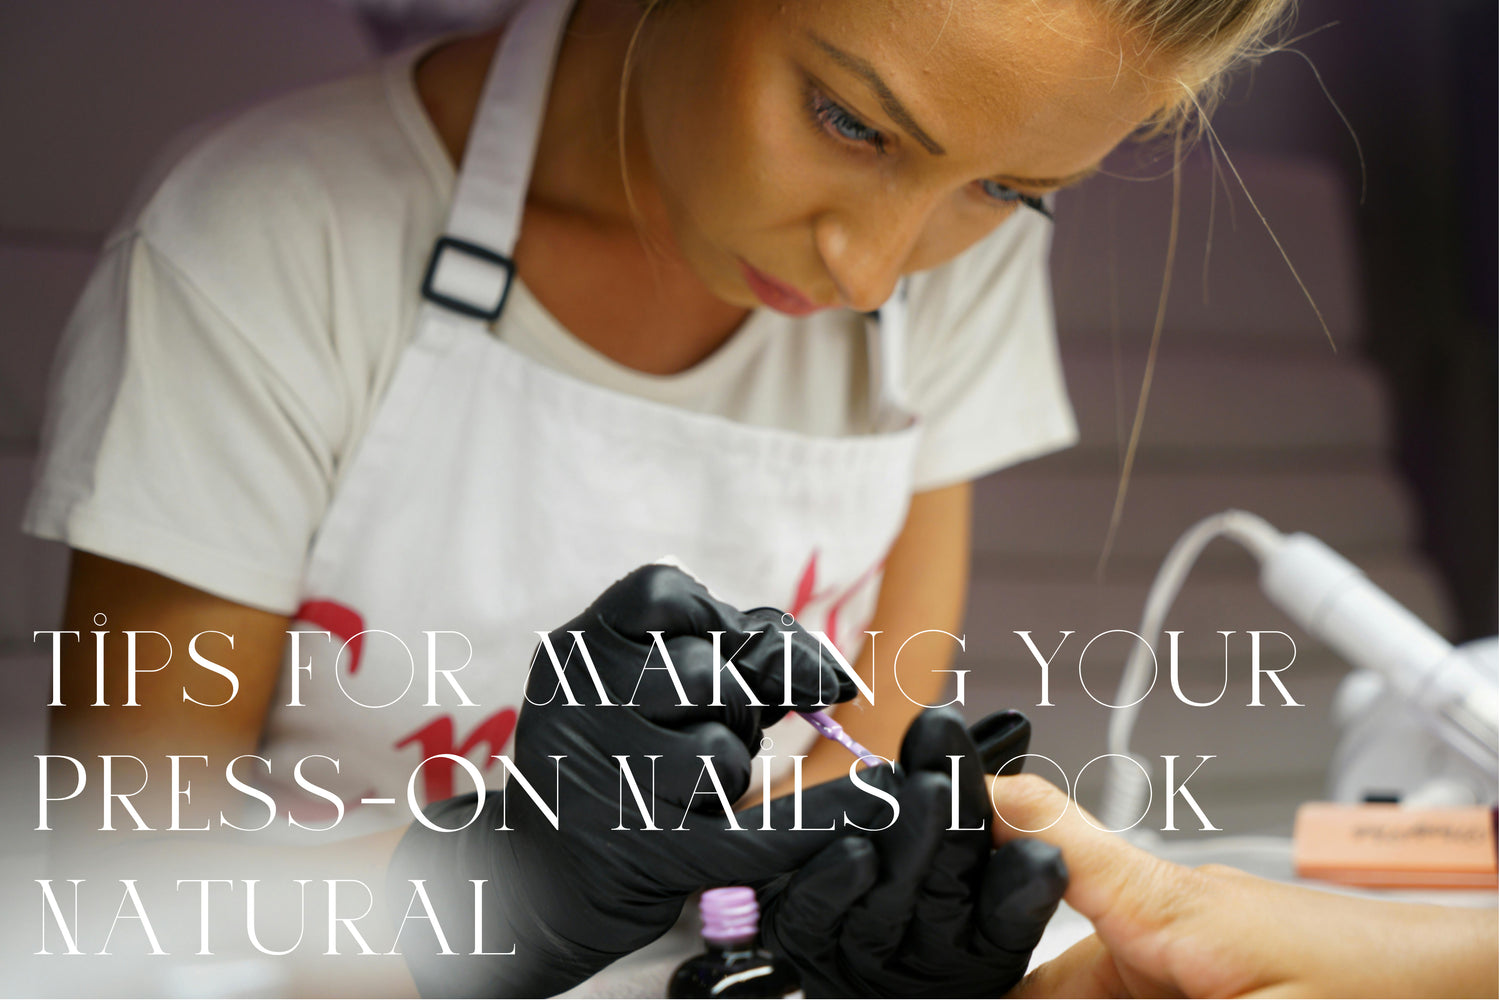
You can have beautiful nails without going to a salon using press on nails. However, some people find it difficult to make them look genuine and natural. Follow these methods and you will be able to fool anyone into thinking that your press on nails are real!
This article will teach you what you need to know about this topic so keep reading for more information.
WHAT ARE PRESS ON NAILS AND WHY SHOULD YOU USE THEM?
Press-on nails are artificial nails that are glued onto your natural nail bed. They are available in different shapes, sizes, and colors which means that they can help you achieve any look you desire within seconds.
There are several reasons why individuals opt for this type of nail polish application over others such as:
-
Cost effectiveness – Press-on nails are much cheaper compared to getting a professional manicure at the salon every time.
-
Time-saving – You do not have to spend hours waiting for your polish or gel coat layers to dry when using press-on acrylics since they instantly adhere onto your natural nail bed once applied correctly.
-
Convenience – You can carry around an extra set of press on nails in case one pops off unexpectedly during important occasions like interviews or dates etc., hence saving yourself from potential embarrassment caused by chipped-off manicures halfway through events.
-
Reusability – Most modern-day press-ons are designed such that they remain intact even after being removed from their original packaging thereby allowing users multiple wears before discarding them altogether unlike traditional fake painted tips which become useless once peeled off completely.
-
Flexibility – Press on nails give individuals the freedom to experiment with various designs and lengths without making permanent changes on their natural nails.
-
Ease-of-use – Press-ons come pre-designed with adhesive backing making it easy for beginners who do not have experience using glue-based attachments like wraps or gels etc., meaning all one needs is peel off the protective layer, align each false tip onto its respective fingertip then press firmly until secure.

HOW TO MAKE PRESS ON NAILS LOOK REAL
-
Select the right size – This is perhaps one of the most crucial steps towards achieving a natural finish with press-on nails. If they are too small, they will look like toys meant for children while if they are too large, it becomes obvious that you are wearing fake tips for Halloween costumes.
-
Shape matters too – In fashion terms, not every clothing style flatters everyone’s body shape similarly so does nail shapes vis-à-vis hand types; oval or square-shaped press-ons will work well on short/wide nail beds but almond/stiletto shaped ones would be more suited for long/narrow ones.
-
Stick to neutral colors – “Less is more” when it comes to color selection during this process since lighter shades such as nudes or pale pinks always appear closer to our real nails than bold hues or eccentric patterns ever could.
-
Use high-quality glue – Don’t skimp on adhesive quality here because cheap formulas tend not only fail at keeping your artificial nails in place but also create embarrassing situations like falling off mid-shake hands momentarily opening doors etc.; invest in good brands instead and save yourself any trouble later on.
BENEFITS OF USING PRESS ON NAILS OVER OTHER TYPES OF FALSE TIPS
There are several advantages associated with using press on nails compared to traditional fake painted tips including:
-
They are affordable – Unlike acrylics which require professional application methods thus costing much higher amounts per session plus additional fees incurred monthly maintenance intervals; you can achieve similar results with just one pack of press-ons for very little money spent only once every two weeks provided proper care is taken throughout wear time frame.
-
Simplicity – Even beginners lacking prior knowledge about self-done manicures need no worry because applying these kinds takes minutes not hours like other techniques.
-
Variety – You will always find sets that suit your exact needs since they come in different shapes, sizes as well colors too so whether looking for discreet office designs or flashy party styles; rest assured knowing there’s something out there designed specifically for you.
-
Comfortable wear – When correctly fitted onto natural finger tips, it is hard to tell whether someone has them on or not due to their lightweight nature which makes them feel practically weightless during use hence no discomfort experienced whatsoever even when typing all day long!
-
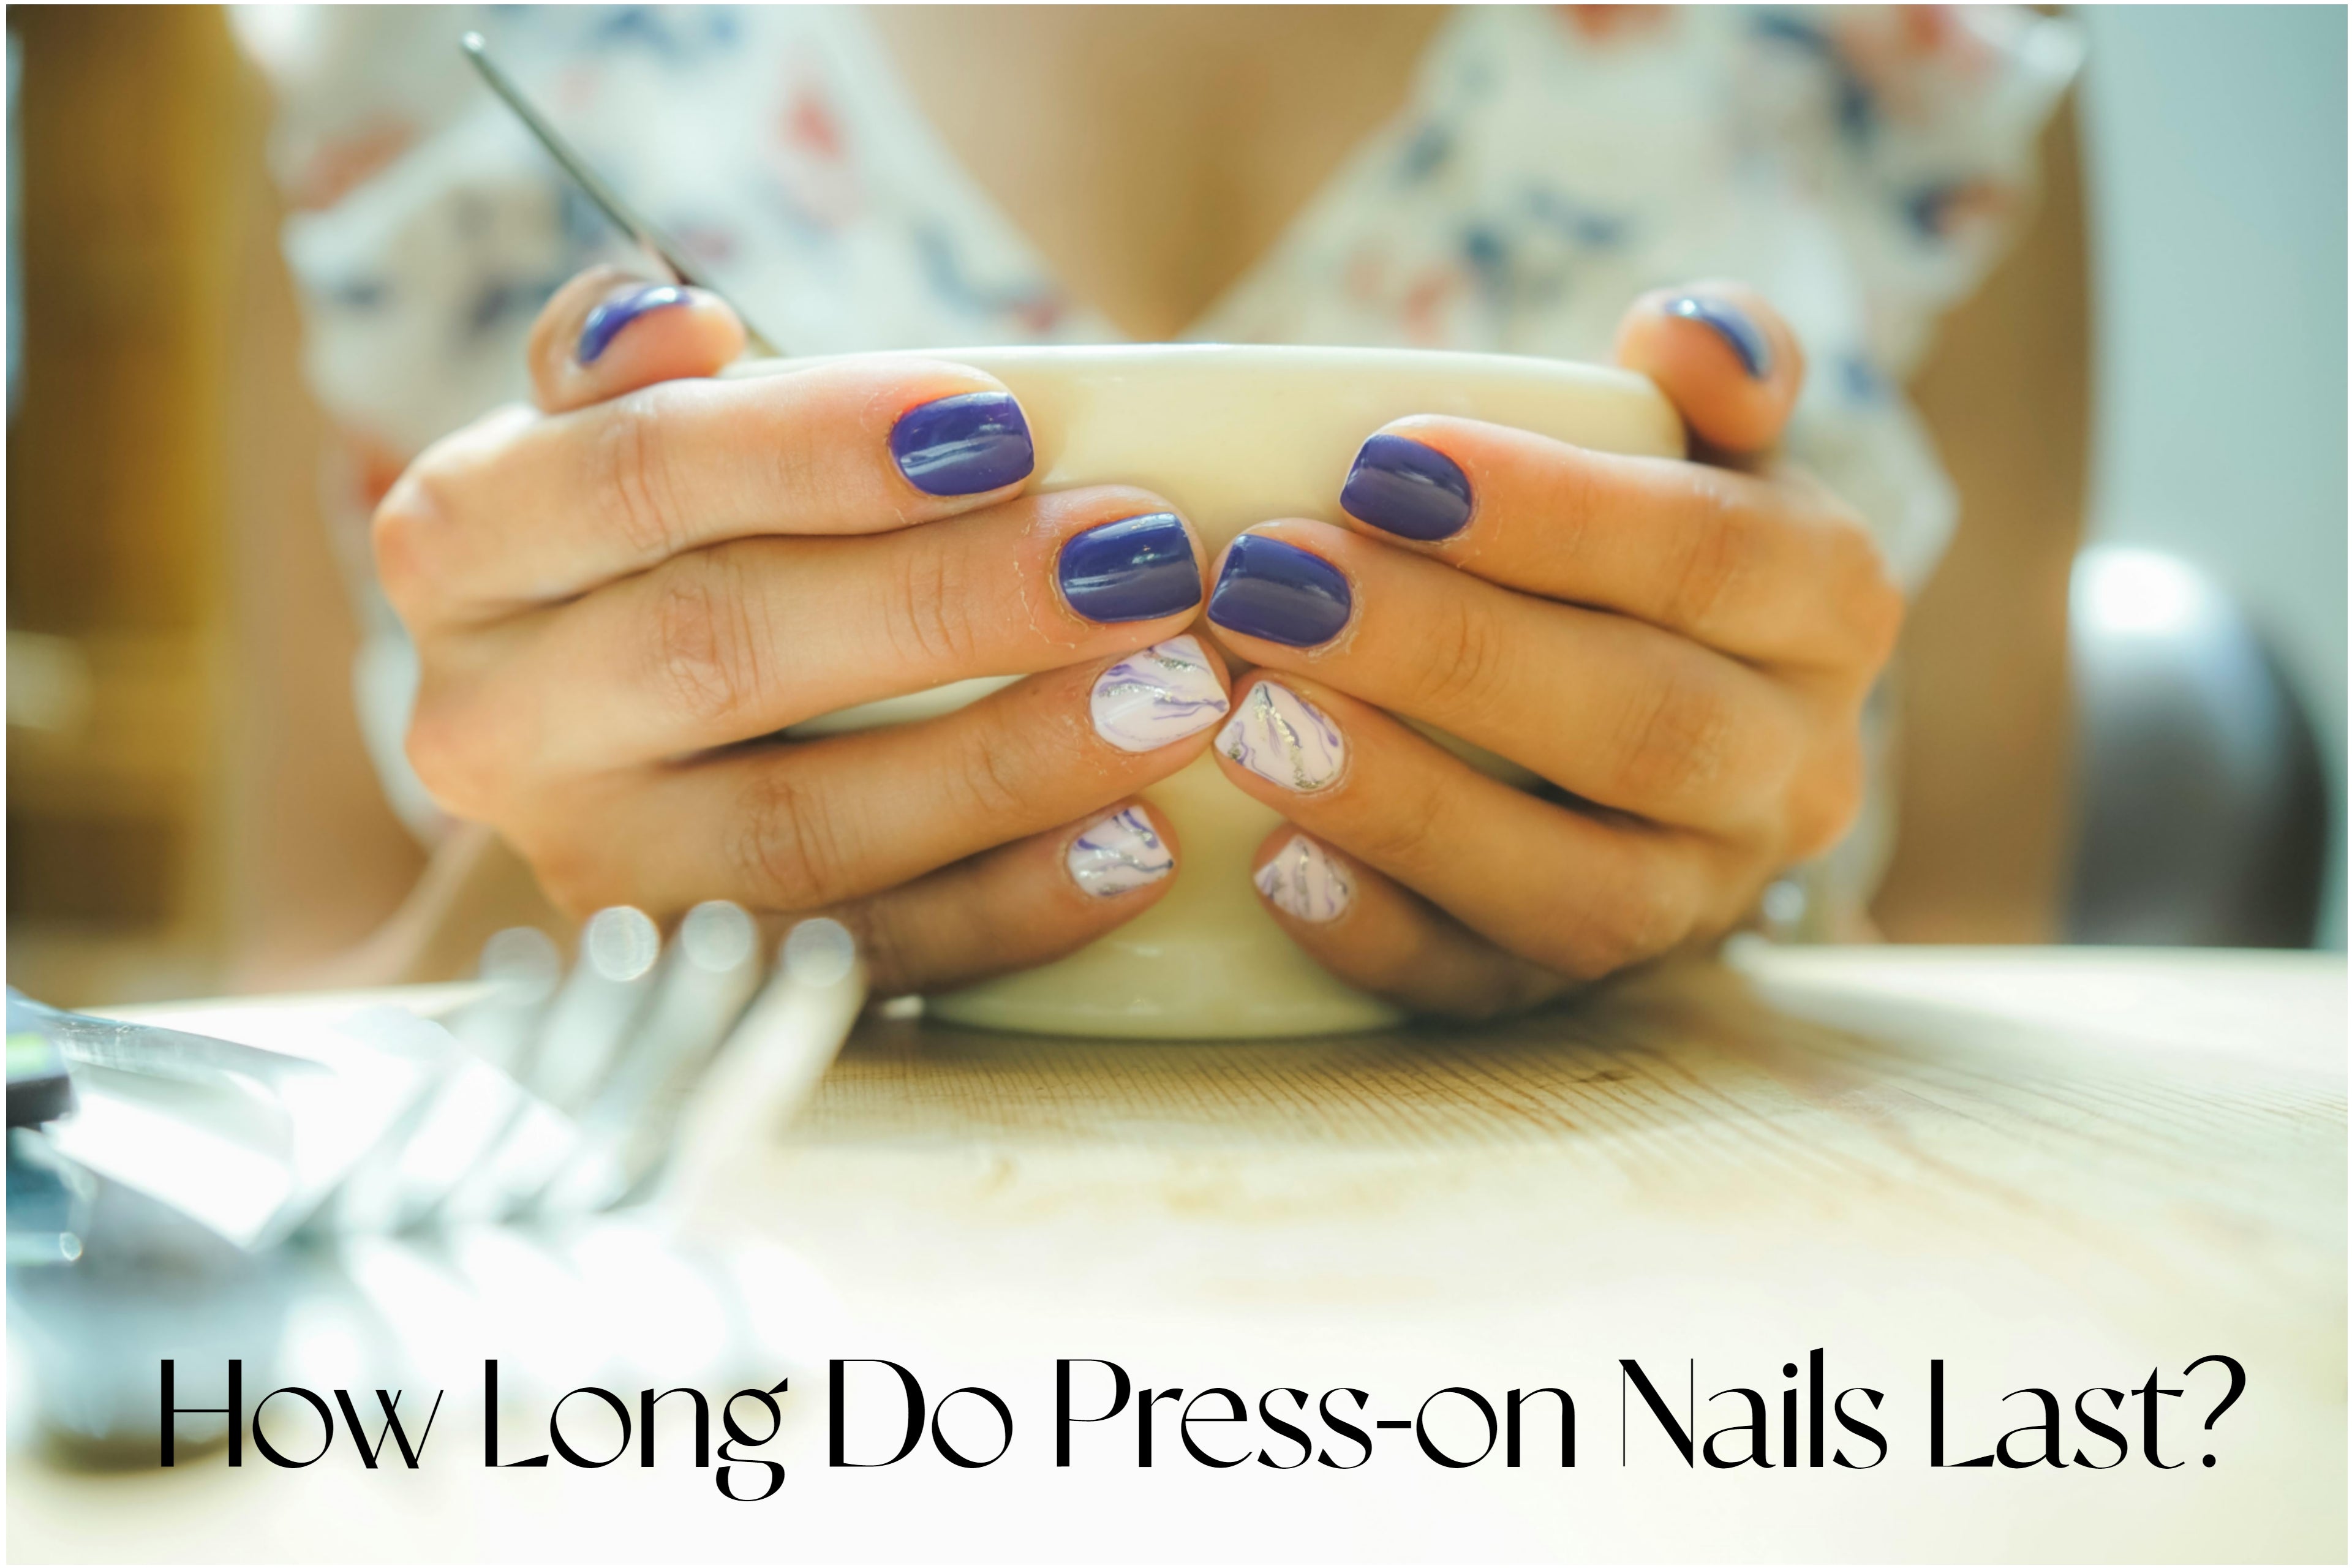
Long lasting effects – If applied according to instructions provided by manufacturer alongside following care guidelines given; press on nails can last up to two weeks without losing adhesion nor peeling off easily thus serving wearer adequately until next changeover period arrives naturally.
-
It appears as if these press on nails are natural. They can almost be virtually undetectable from real ones with the correct color and shape.

DIFFERENT PRESS ON NAIL TYPES AND HOW TO SELECT THE RIGHT ONES FOR YOU
There are different shapes and sizes of press on nails to choose from. How do you know which one is right for you?
Here are some tips for selecting the right type of press on nails:
-
Think about your nail shape: All shapes do not look good with all types of nails. For instance, if you have short or wide nail beds, oval or square-shaped press ons will suit you best; if you have long or narrow ones, almond or stiletto-shaped press ons would be more flattering.
-
Consider your lifestyle: If you lead a busy life then opt for easy-to-apply nails that won’t chip nor break easily whereas when time is plenty, go for more intricate designs and colors.
-
Think about your budget: Press on nails come in various prices so it’s possible to find one within your means but invest in a good quality adhesive if you want them to last.
-
Try before buying! Not all press on nails fit well or look natural so trying them out first is advisable especially if they’re new to your hands.
HOW TO APPLY PRESS ON NAILS CORRECTLY FOR A PERFECT FINISH EVERY TIME
When people think about applying press-on nails, they often get overwhelmed but there’s no need! We’ve got your back covered; follow our guide below step by step and soon enough you’ll be able to apply like a professional too!
STEP ONE: PREP YOUR NATURAL NAILS
Before applying the false ones ensure that the real ones are prepped accordingly; Wash hands using soap and water to eliminate any dirt or oil then use a nail file to smooth them out. You may also want to trim down excessively long nails before filing.
STEP TWO: APPLY NAIL GLUE
Now that everything is set up, it’s time for glue application; Start by putting a thin layer at the back of each false nail without using excess amounts otherwise you’ll wait forever for them to dry! Once done wait a few seconds so that the glue becomes tacky enough before proceeding.
STEP THREE: PRESS ON THE NAILS
With sticky adhesive now present, go ahead and press on each one starting from your thumb; Hold in position for some seconds as this allows bonding between natural and fake nails to take place. Repeat until all the fingers have been covered.
Step four: let the nails dry
When all of your nails are in place, it is important to wait until they have completely dried before doing anything else. It might take a couple of minutes or hours depending on the adhesive used. After they are dry feel free to do whatever you want but avoid using strong chemicals or detergents until the nails become completely dry.
In conclusion
So, that’s how you can quickly fix press-on falsies like an expert. Just prepare your natural nails, apply enough adhesive and wait for them to dry fully. Through practice, one can achieve perfect fake nails that look just like real ones!

Leave a comment
This site is protected by hCaptcha and the hCaptcha Privacy Policy and Terms of Service apply.